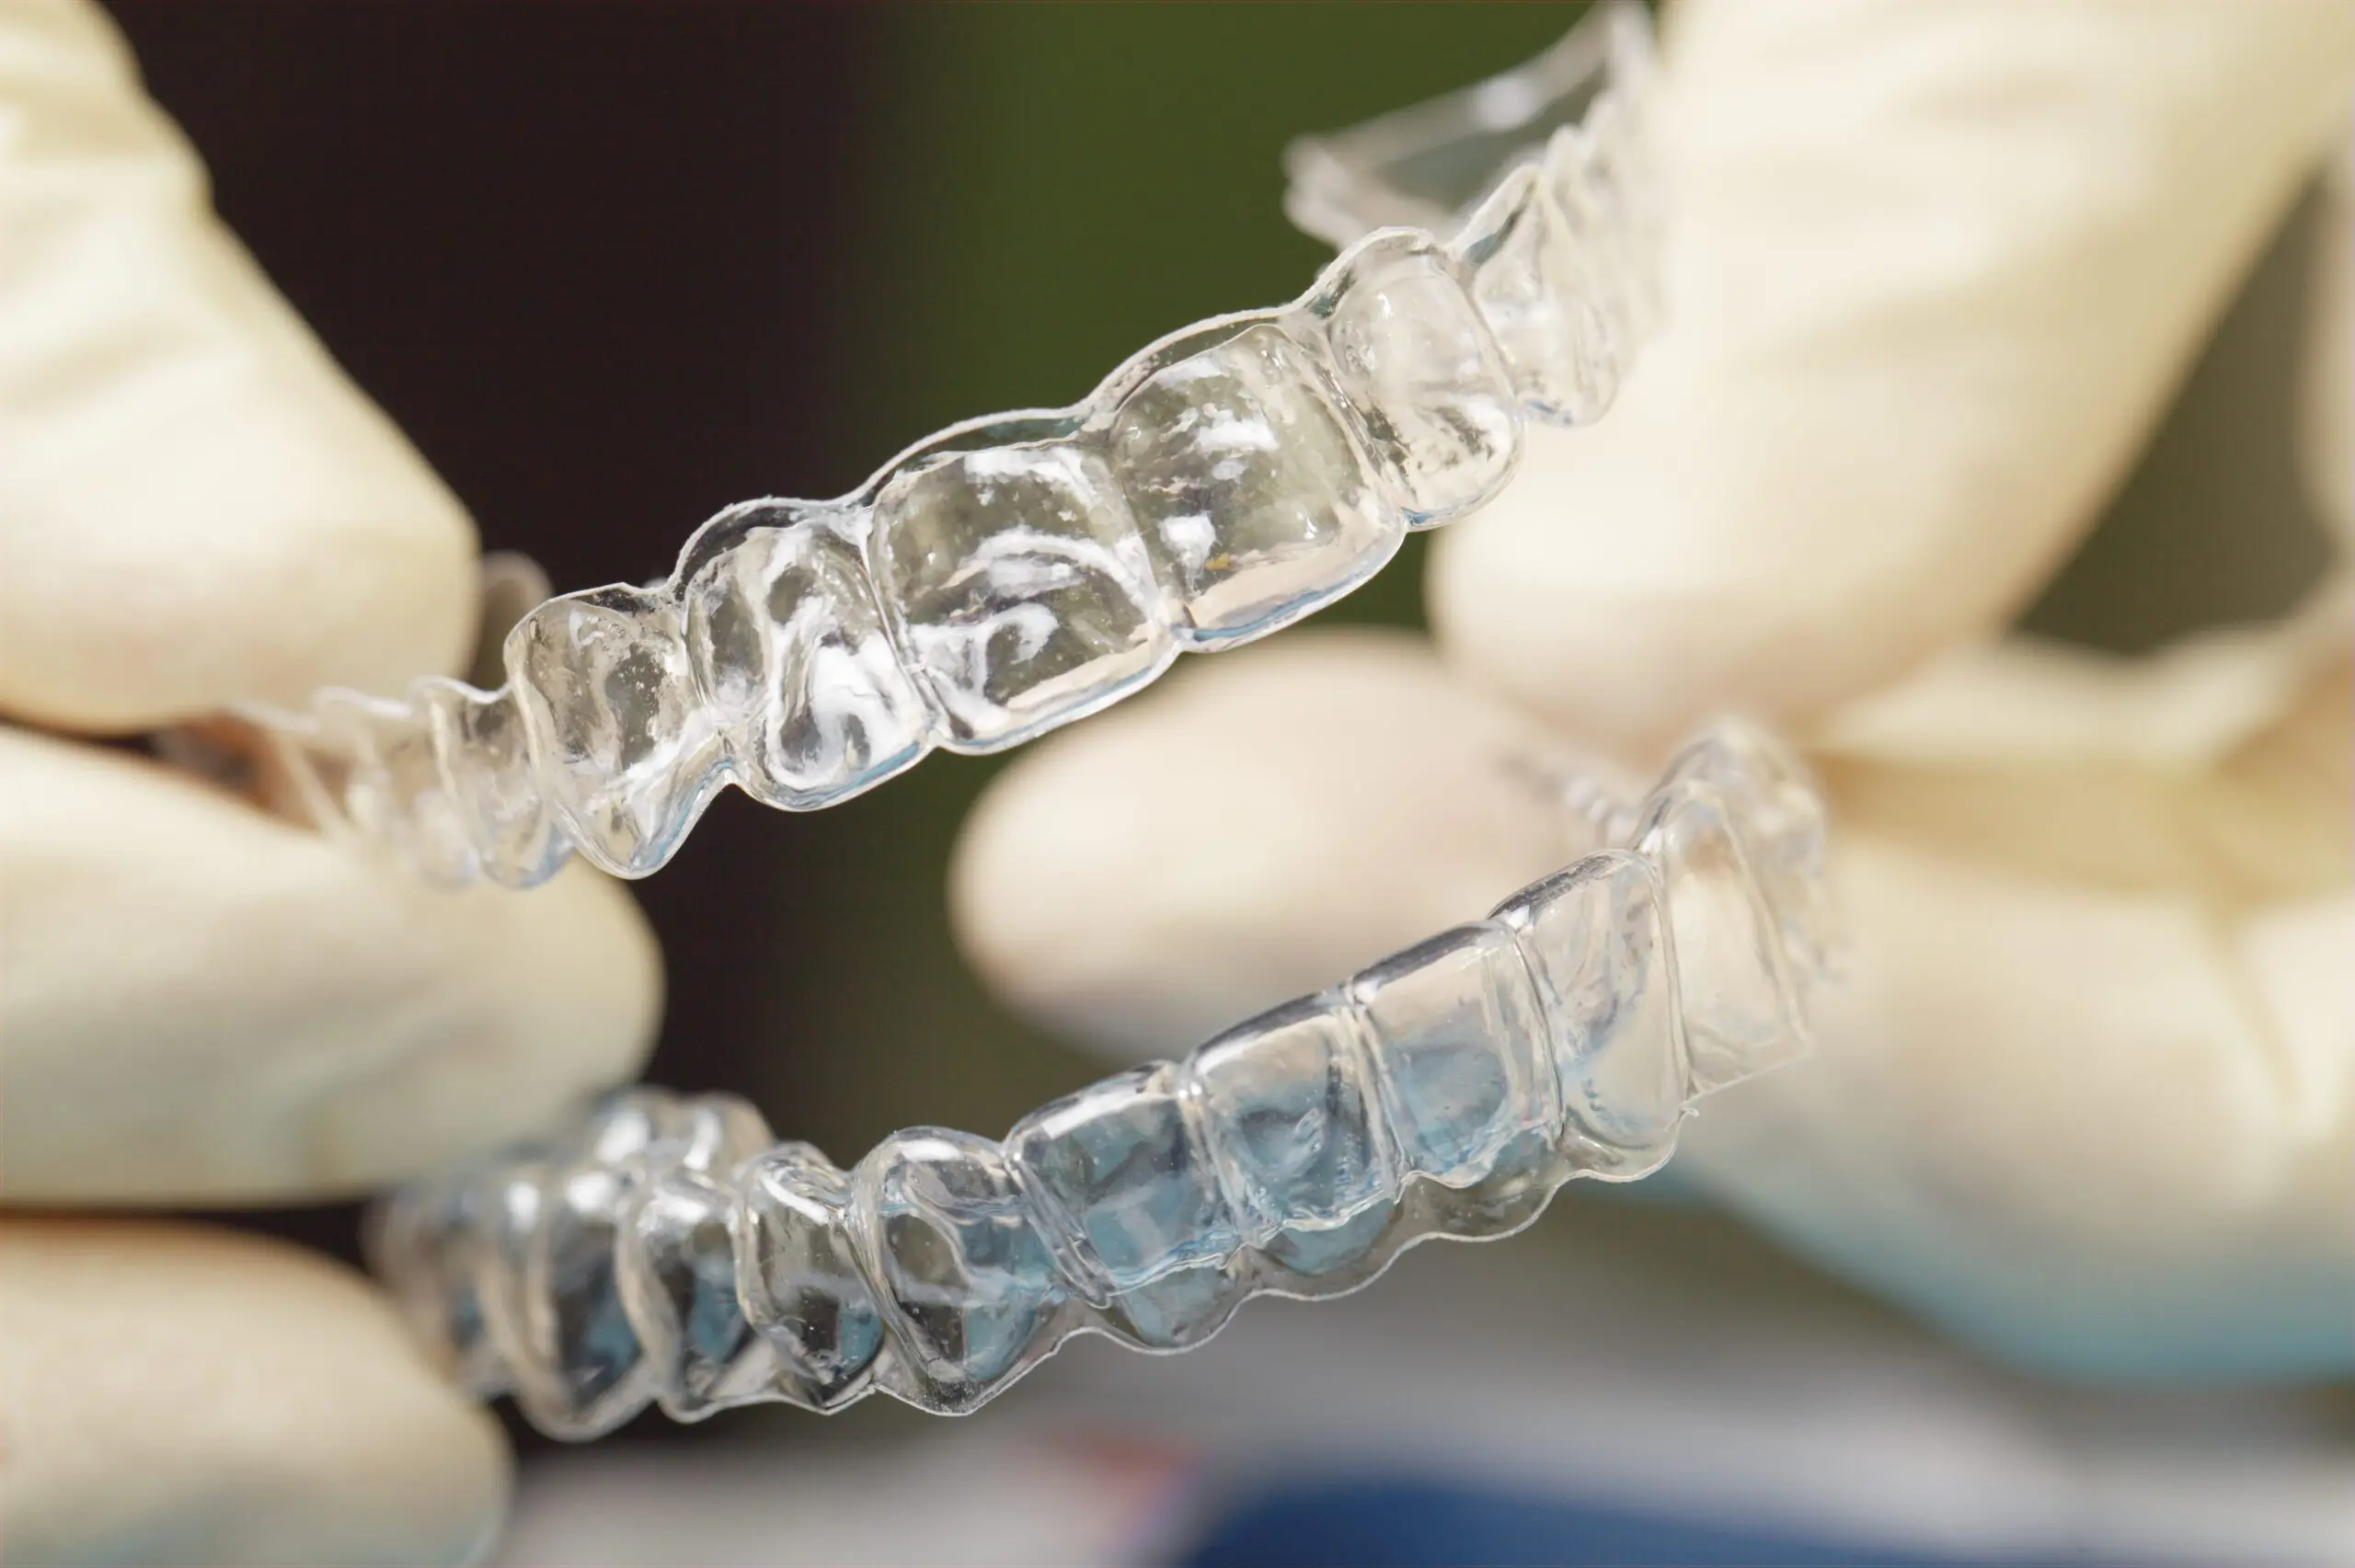
Clear aligners are an excellent way to straighten your teeth, but keeping them clean is essential for maintaining your oral health and making sure your treatment stays on track. Cleaning your aligners properly not only helps prevent bad odors and bacterial buildup but also helps your aligners remain in good condition throughout your treatment.
If you’re looking to keep your aligners clean and fresh, here are some helpful tips and best practices. And if you need additional support or have any questions, Smilebliss is here to help guide you through every step of your aligner journey.
Cleaning your clear aligners is more than just about keeping them looking good; it’s essential for your oral health. If you don’t clean your aligners regularly, bacteria can build up, leading to bad breath, plaque, and even potential oral health issues like gum disease or cavities.
Additionally, cleaning your aligners properly helps maintain their effectiveness. Dirty aligners might not fit as snugly or shift your teeth as intended, slowing down your treatment progress.
 After taking your aligners out, it’s best to rinse them right away. This helps remove any food particles or saliva that may have accumulated during wear. It’s also a good idea to rinse them with lukewarm water to prevent any potential warping from extreme temperatures.
Always use a separate toothbrush, preferably a soft-bristled one, to clean your aligners. Brushing your aligners with a soft toothbrush helps prevent scratches that can lead to stains and bacteria buildup.
It’s important to keep your aligners free from abrasions that might reduce their effectiveness.
When cleaning your aligners, avoid harsh chemicals or abrasive soaps. Instead, use a mild, non-abrasive soap or a cleaning solution that’s specifically made for aligners.
Alcohol-based products can damage the material of the aligners and affect their fit. Cleaning solutions designed for aligners are gentle and will help maintain their shape and quality.
Soaking your aligners regularly is an excellent way to keep them clean and free of odors. You can use denture-cleaning tablets or aligner-specific cleaning solutions for this.
Soaking your aligners for a few hours helps eliminate bacteria, food particles, and plaque. It’s recommended to do this at least once a day.
Hot water can warp the plastic of your aligners, causing them to lose their shape and not fit correctly. Always rinse or clean your aligners with lukewarm water to keep them in top condition.
While toothpaste may seem like a good cleaning option, it’s not recommended for aligners.
Many toothpastes contain abrasive ingredients that can scratch your aligners and cause them to lose their clarity. Instead, stick to mild soap or cleaning solutions designed specifically for aligners.
Bleach, vinegar, and other harsh chemicals should never be used to clean your aligners. These chemicals can damage the plastic and potentially leave harmful residues. Stick with gentle cleaning products to keep your aligners safe and effective.
 As you progress through your treatment, it’s important to switch to a new set of aligners when instructed. Old trays can accumulate bacteria and odor, so staying on schedule with your aligner changes helps prevent this issue.
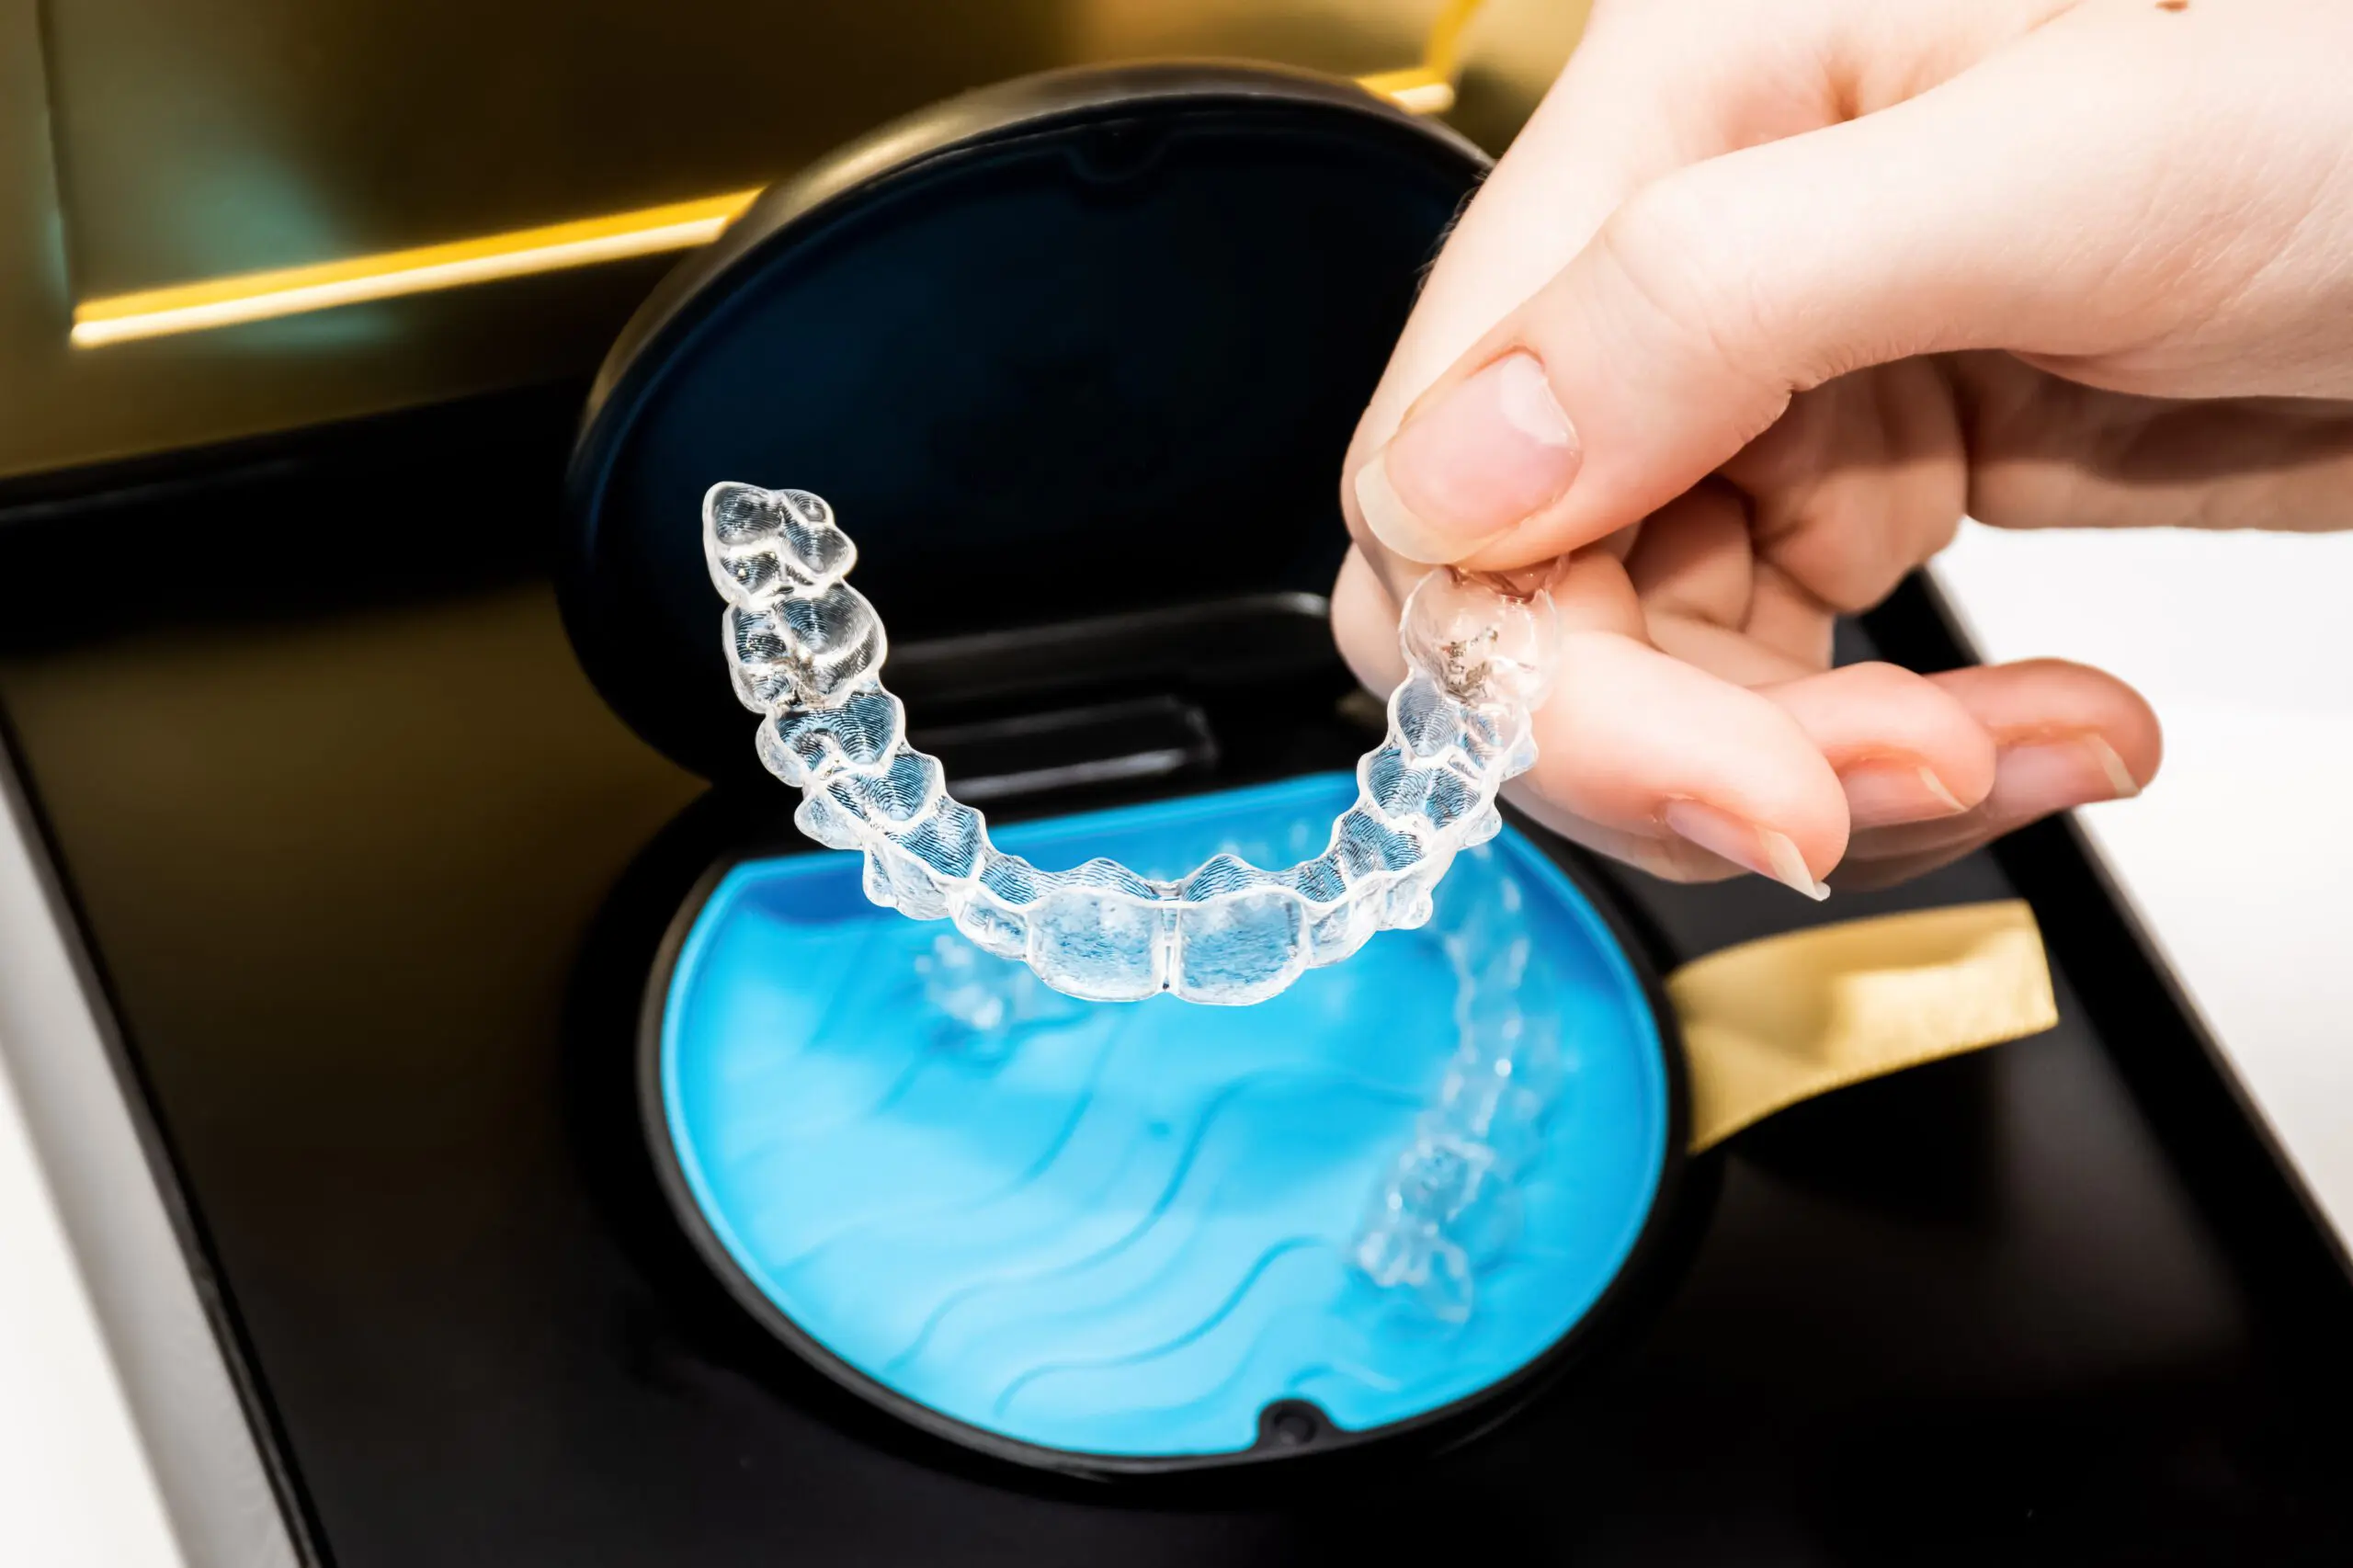
When you’re not wearing your aligners, make sure to store them in their case. This protects them from dirt, damage, and exposure to the air.
Never leave them exposed in a public place, as this increases the chance of losing or damaging them. Keeping your aligners in their case helps them stay clean and safe when not in use.
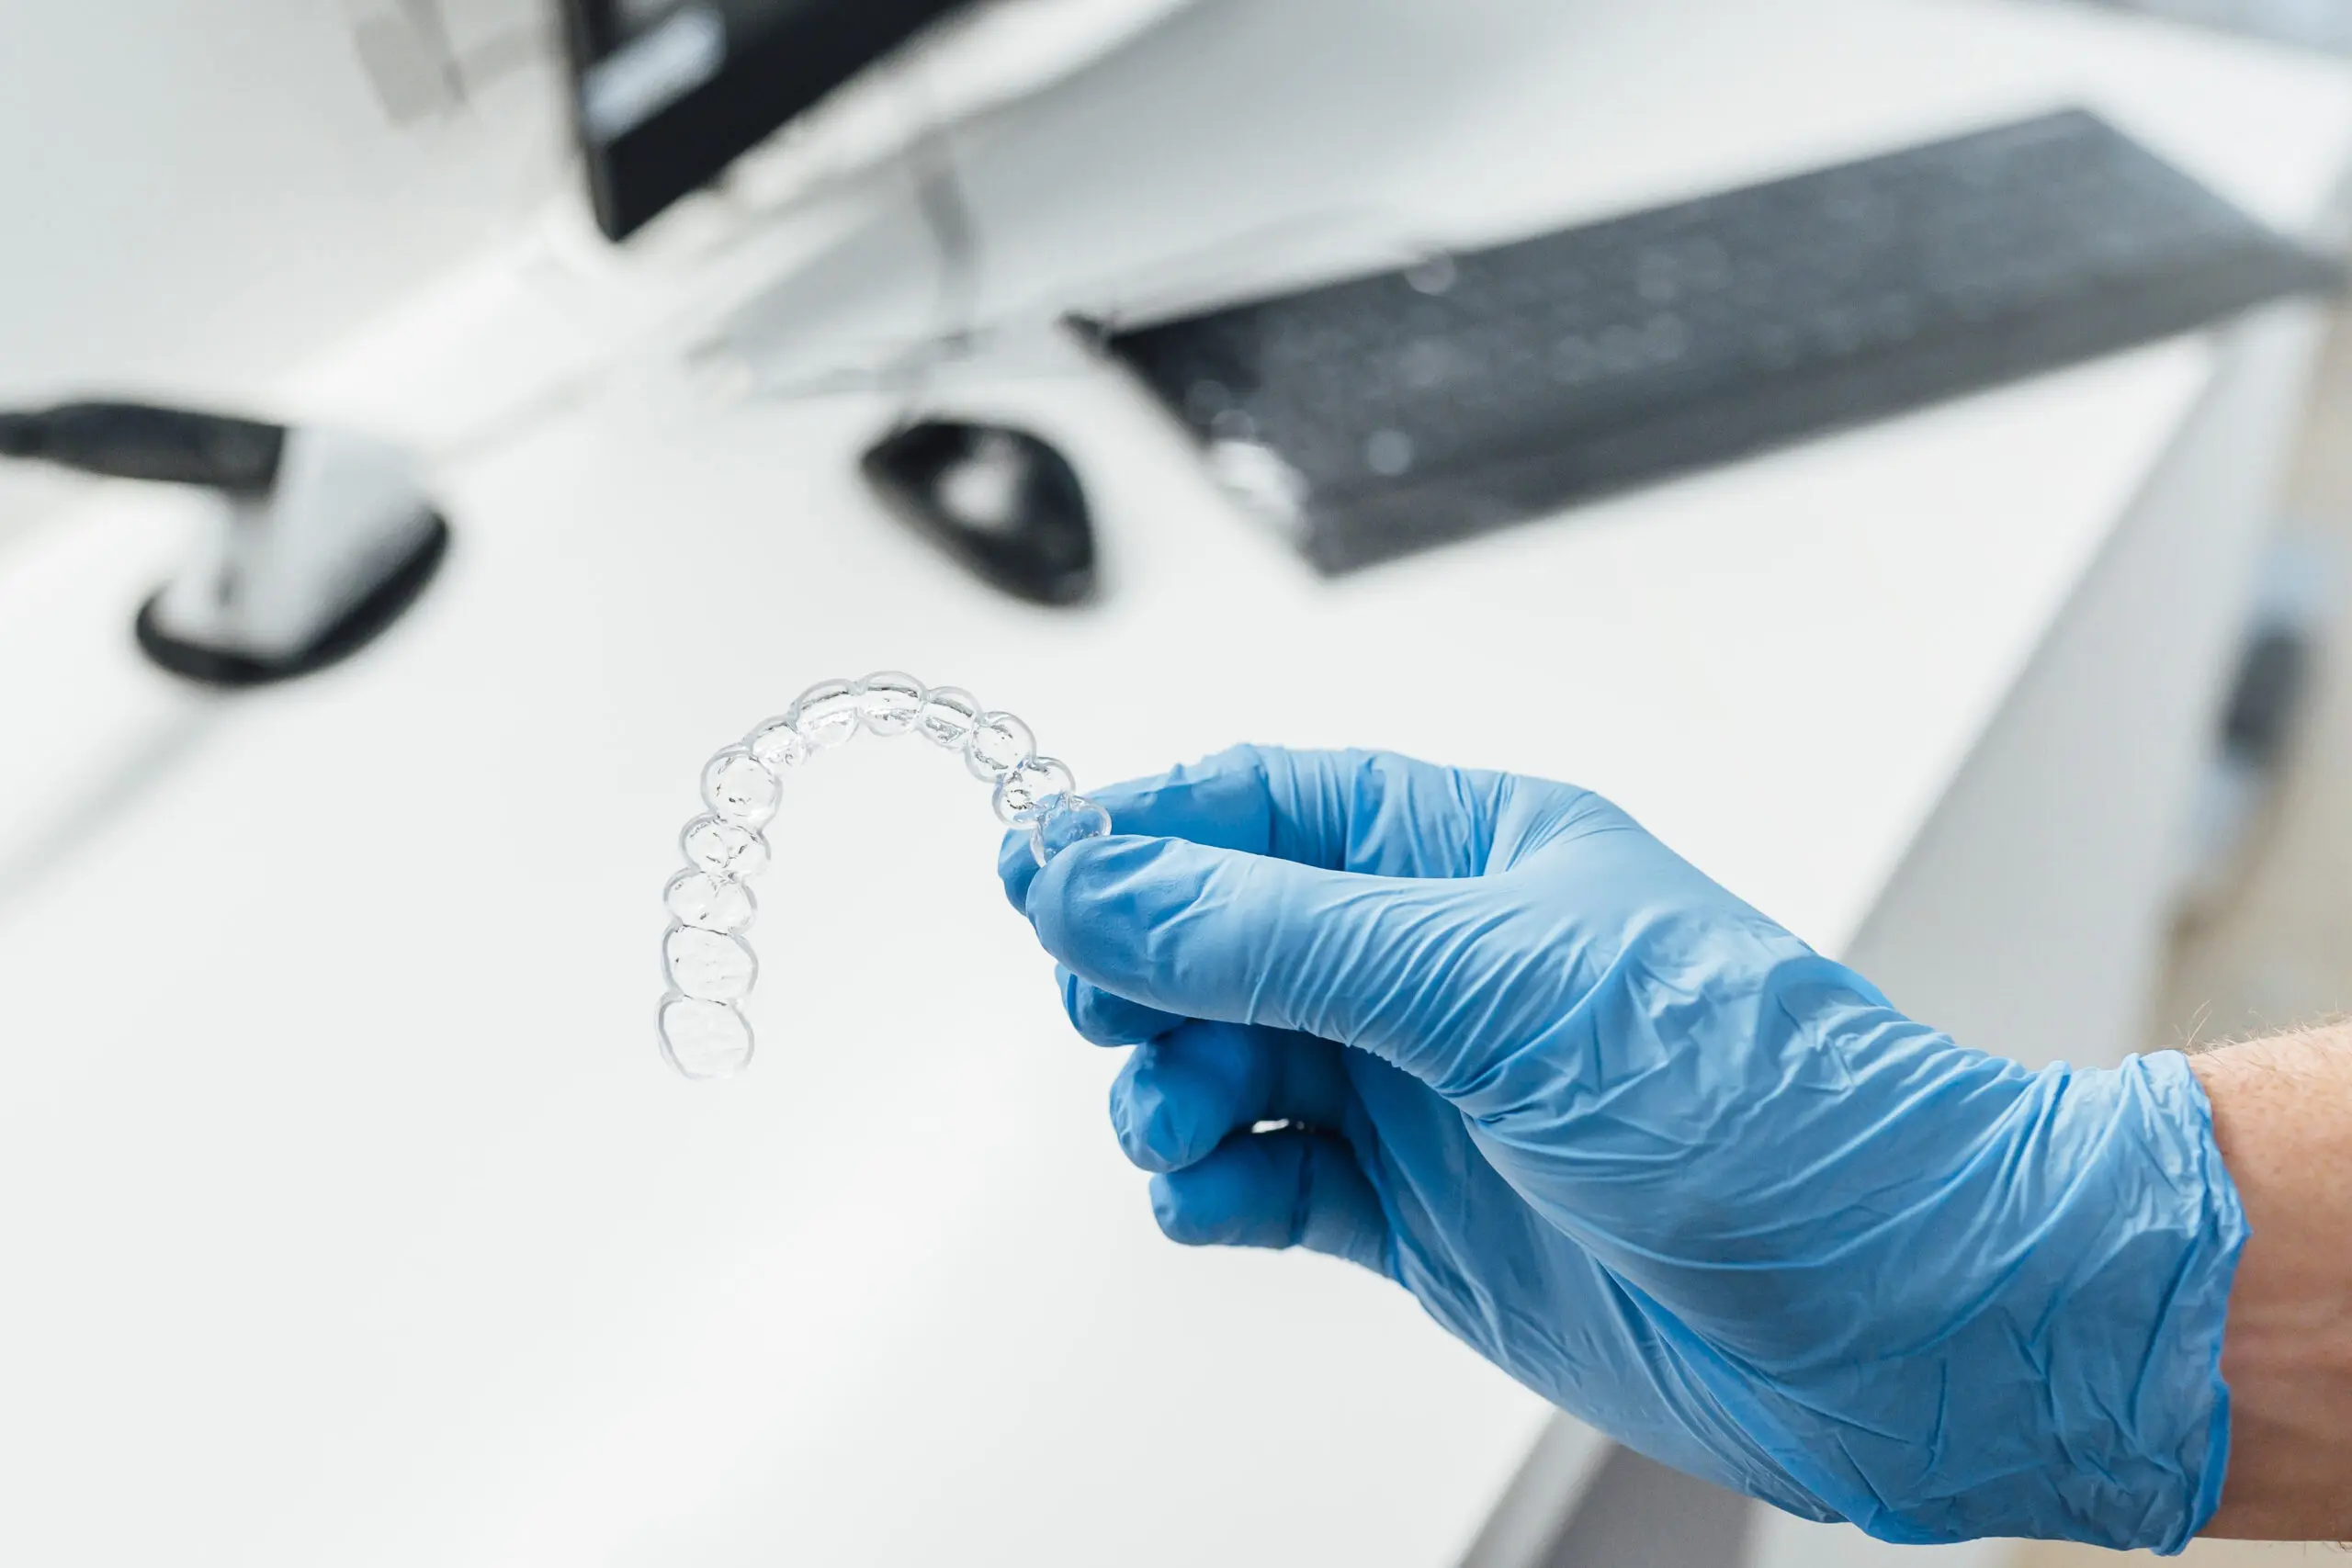
If your aligners become cracked or stained, it’s important to address the problem right away. You may need a replacement set of aligners to maintain the progress of your treatment.
If you notice any cracks or warping, contact your orthodontic professional to get advice on how to proceed.
Brushing and flossing before inserting your aligners is crucial. A clean mouth helps prevent food particles, bacteria, and plaque from being trapped under your aligners. This simple step keeps both your teeth and aligners in good condition.
Also, be sure to clean your aligners as part of your daily oral hygiene routine to avoid harmful buildup.
At Smilebliss, we understand how important it is to keep your aligners clean to achieve the best results. Our team is always available to provide expert advice and guidance on how to care for your aligners throughout your orthodontic treatment.
Whether you’re having trouble with cleaning, need advice on aligner care, or require a replacement set, we’re here to help.
Keeping your clear aligners clean is essential for both your oral health and the success of your orthodontic treatment. With proper care, you can maintain fresh, effective aligners and achieve the smile you’ve always dreamed of.
Remember to follow the steps for cleaning and storing your aligners, and don’t hesitate to reach out to Smilebliss if you have any questions or need further assistance.
Schedule a consultation with Smilebliss today, and let us help you maintain your beautiful smile throughout your orthodontic treatment!