Posted on April 30, 2025
Removing clear aligners with attachments can be challenging but easier with the right techniques. Proper removal helps protect your aligners and teeth; seeking professional advice can make the process smoother.
As you practice, consider consulting an expert for dental care. Check out our guide for tips on easier removal and preventing tooth decay so you can confidently show your smile.
Want to learn more? Schedule a consultation to start your journey to a beautiful smile! Join the Smilebliss community for personalized orthodontic services.
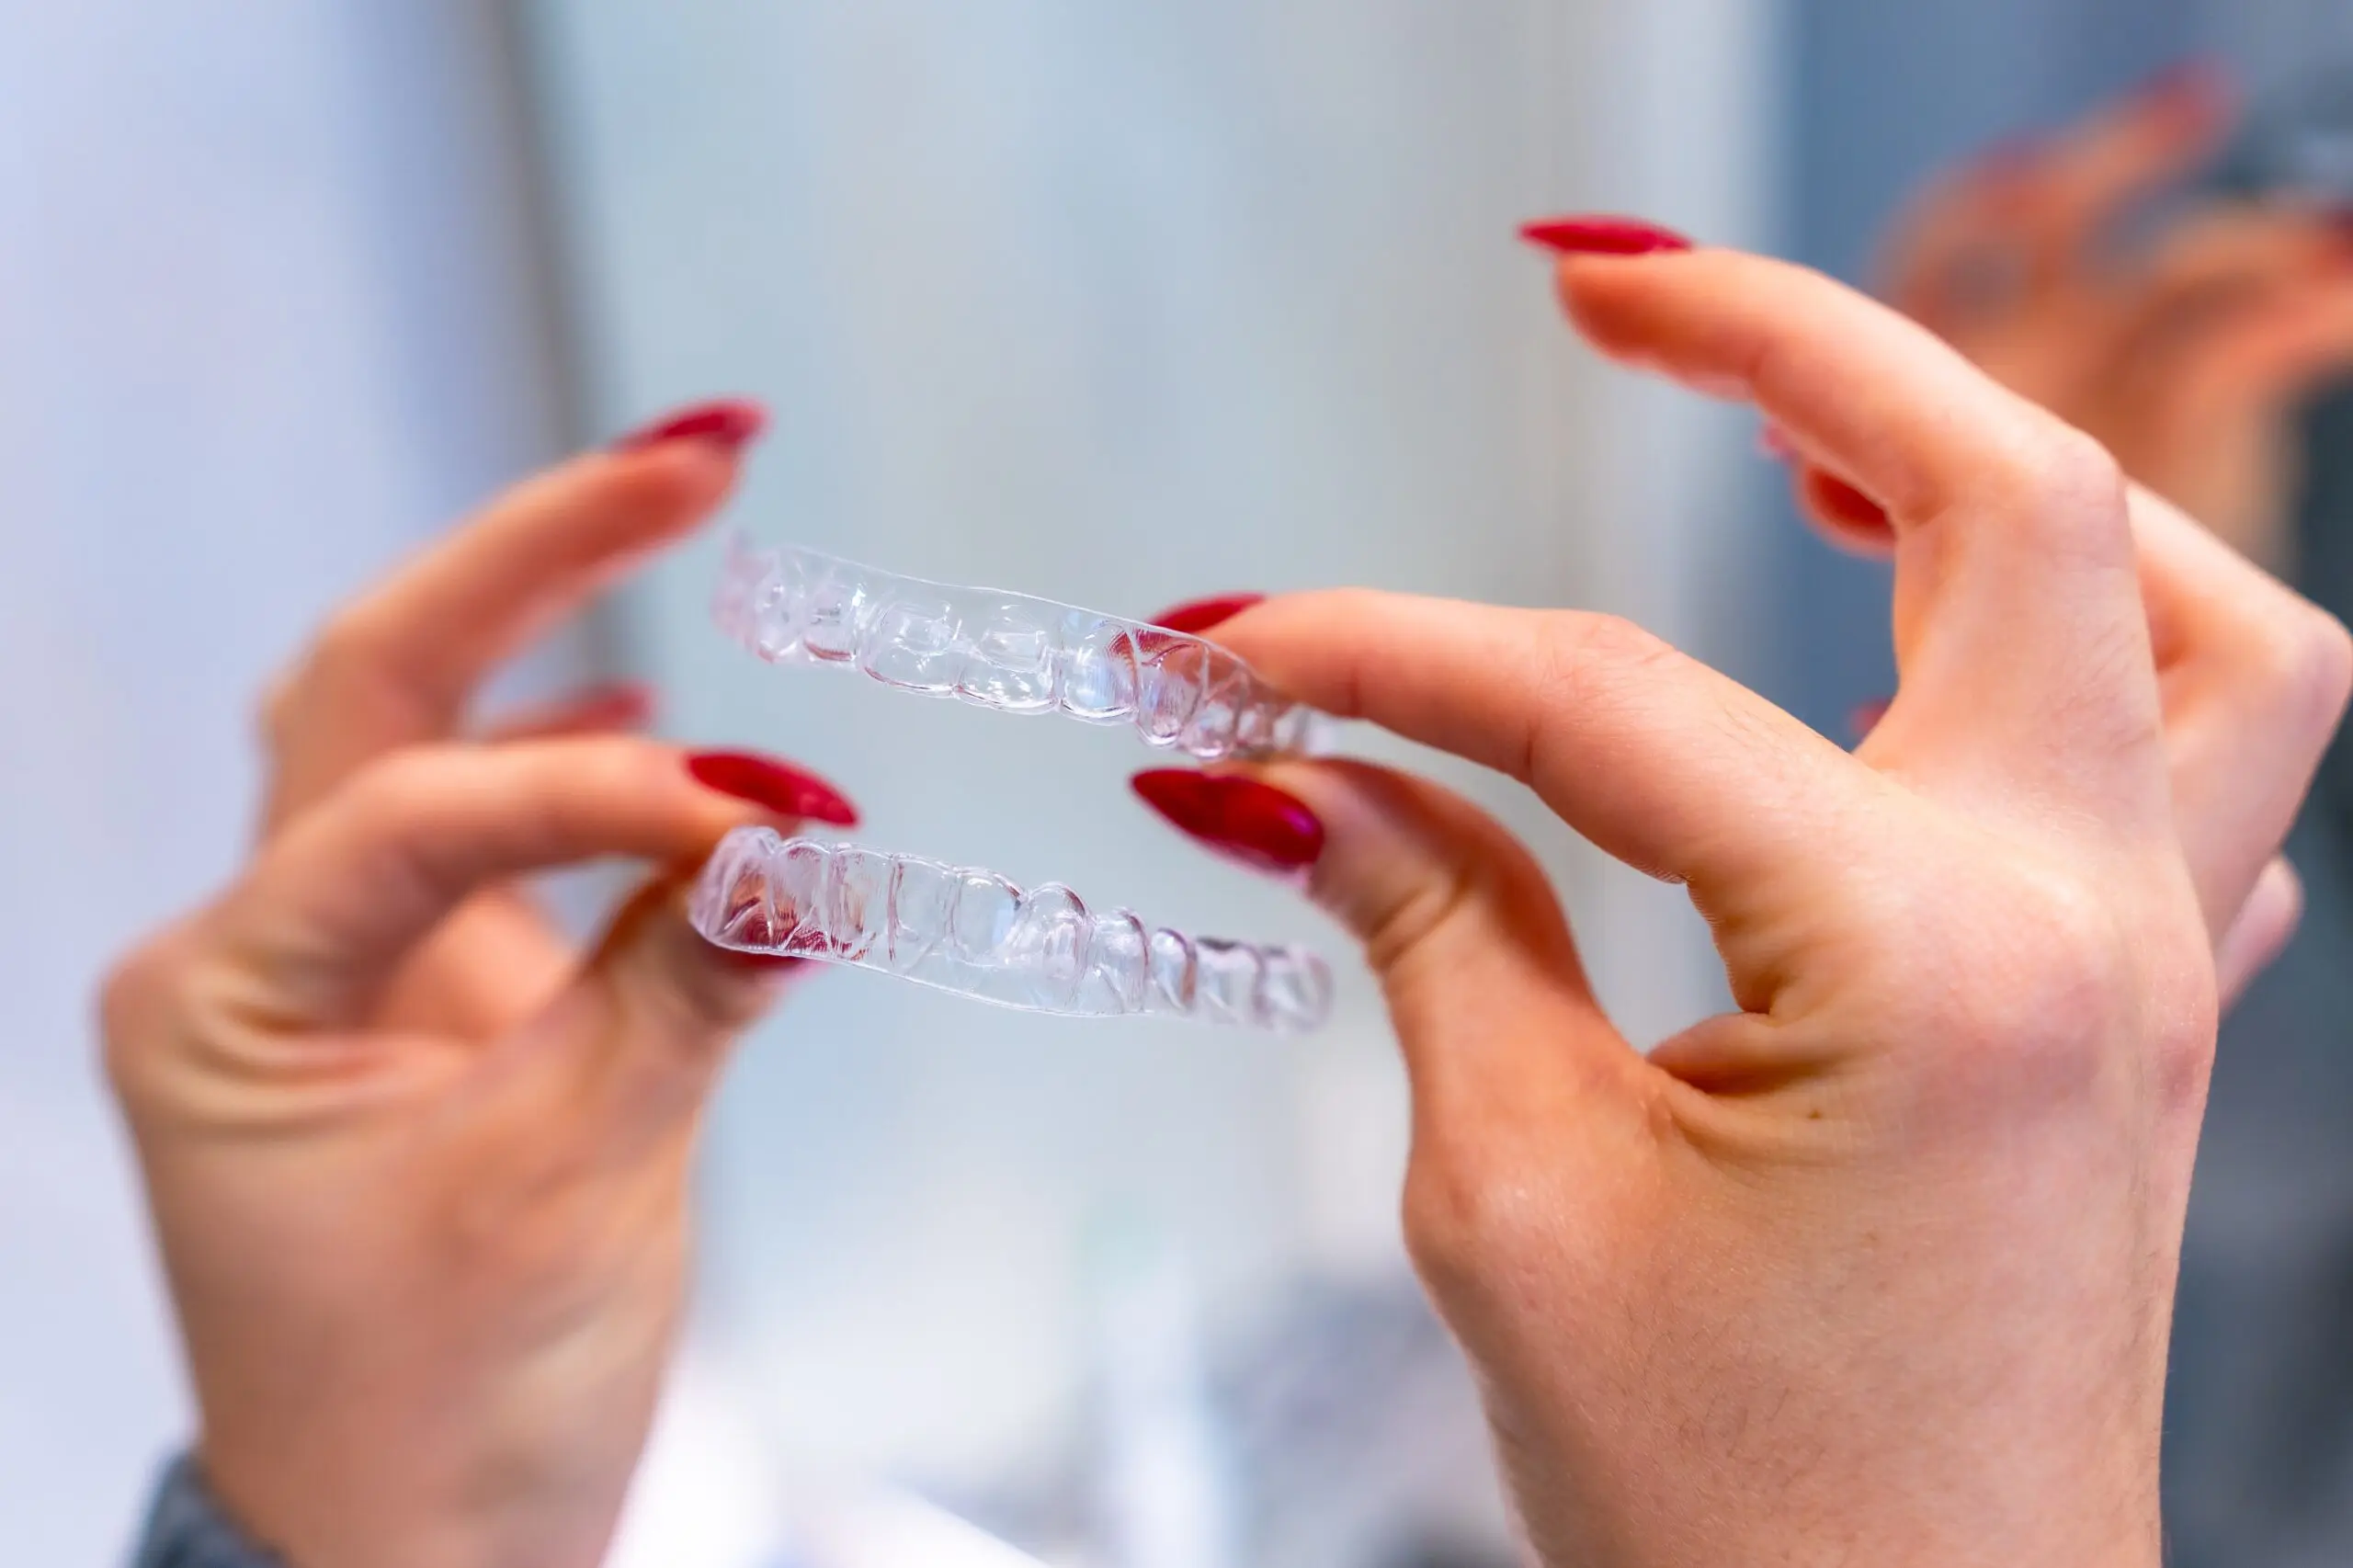
Clear aligners, a popular option in modern orthodontic treatment, gently move teeth by applying pressure. Patients wear a set of aligners, changing them every one to two weeks for 20 to 22 hours a day.
Depending on the complexity, treatment usually lasts from a few months to a couple of years. A key benefit of clear aligners is that they are removable, making it easier to maintain oral hygiene and enjoy your favorite foods.
Attachments and buttons are small, tooth-colored pieces bonded to teeth that enhance the effectiveness of aligners. Made from various materials and shapes, these attachments help move teeth in targeted directions, while buttons connect rubber bands for extra support.
Both are crucial in orthodontic treatment, particularly in complex cases, ensuring aligners work effectively for optimal results.
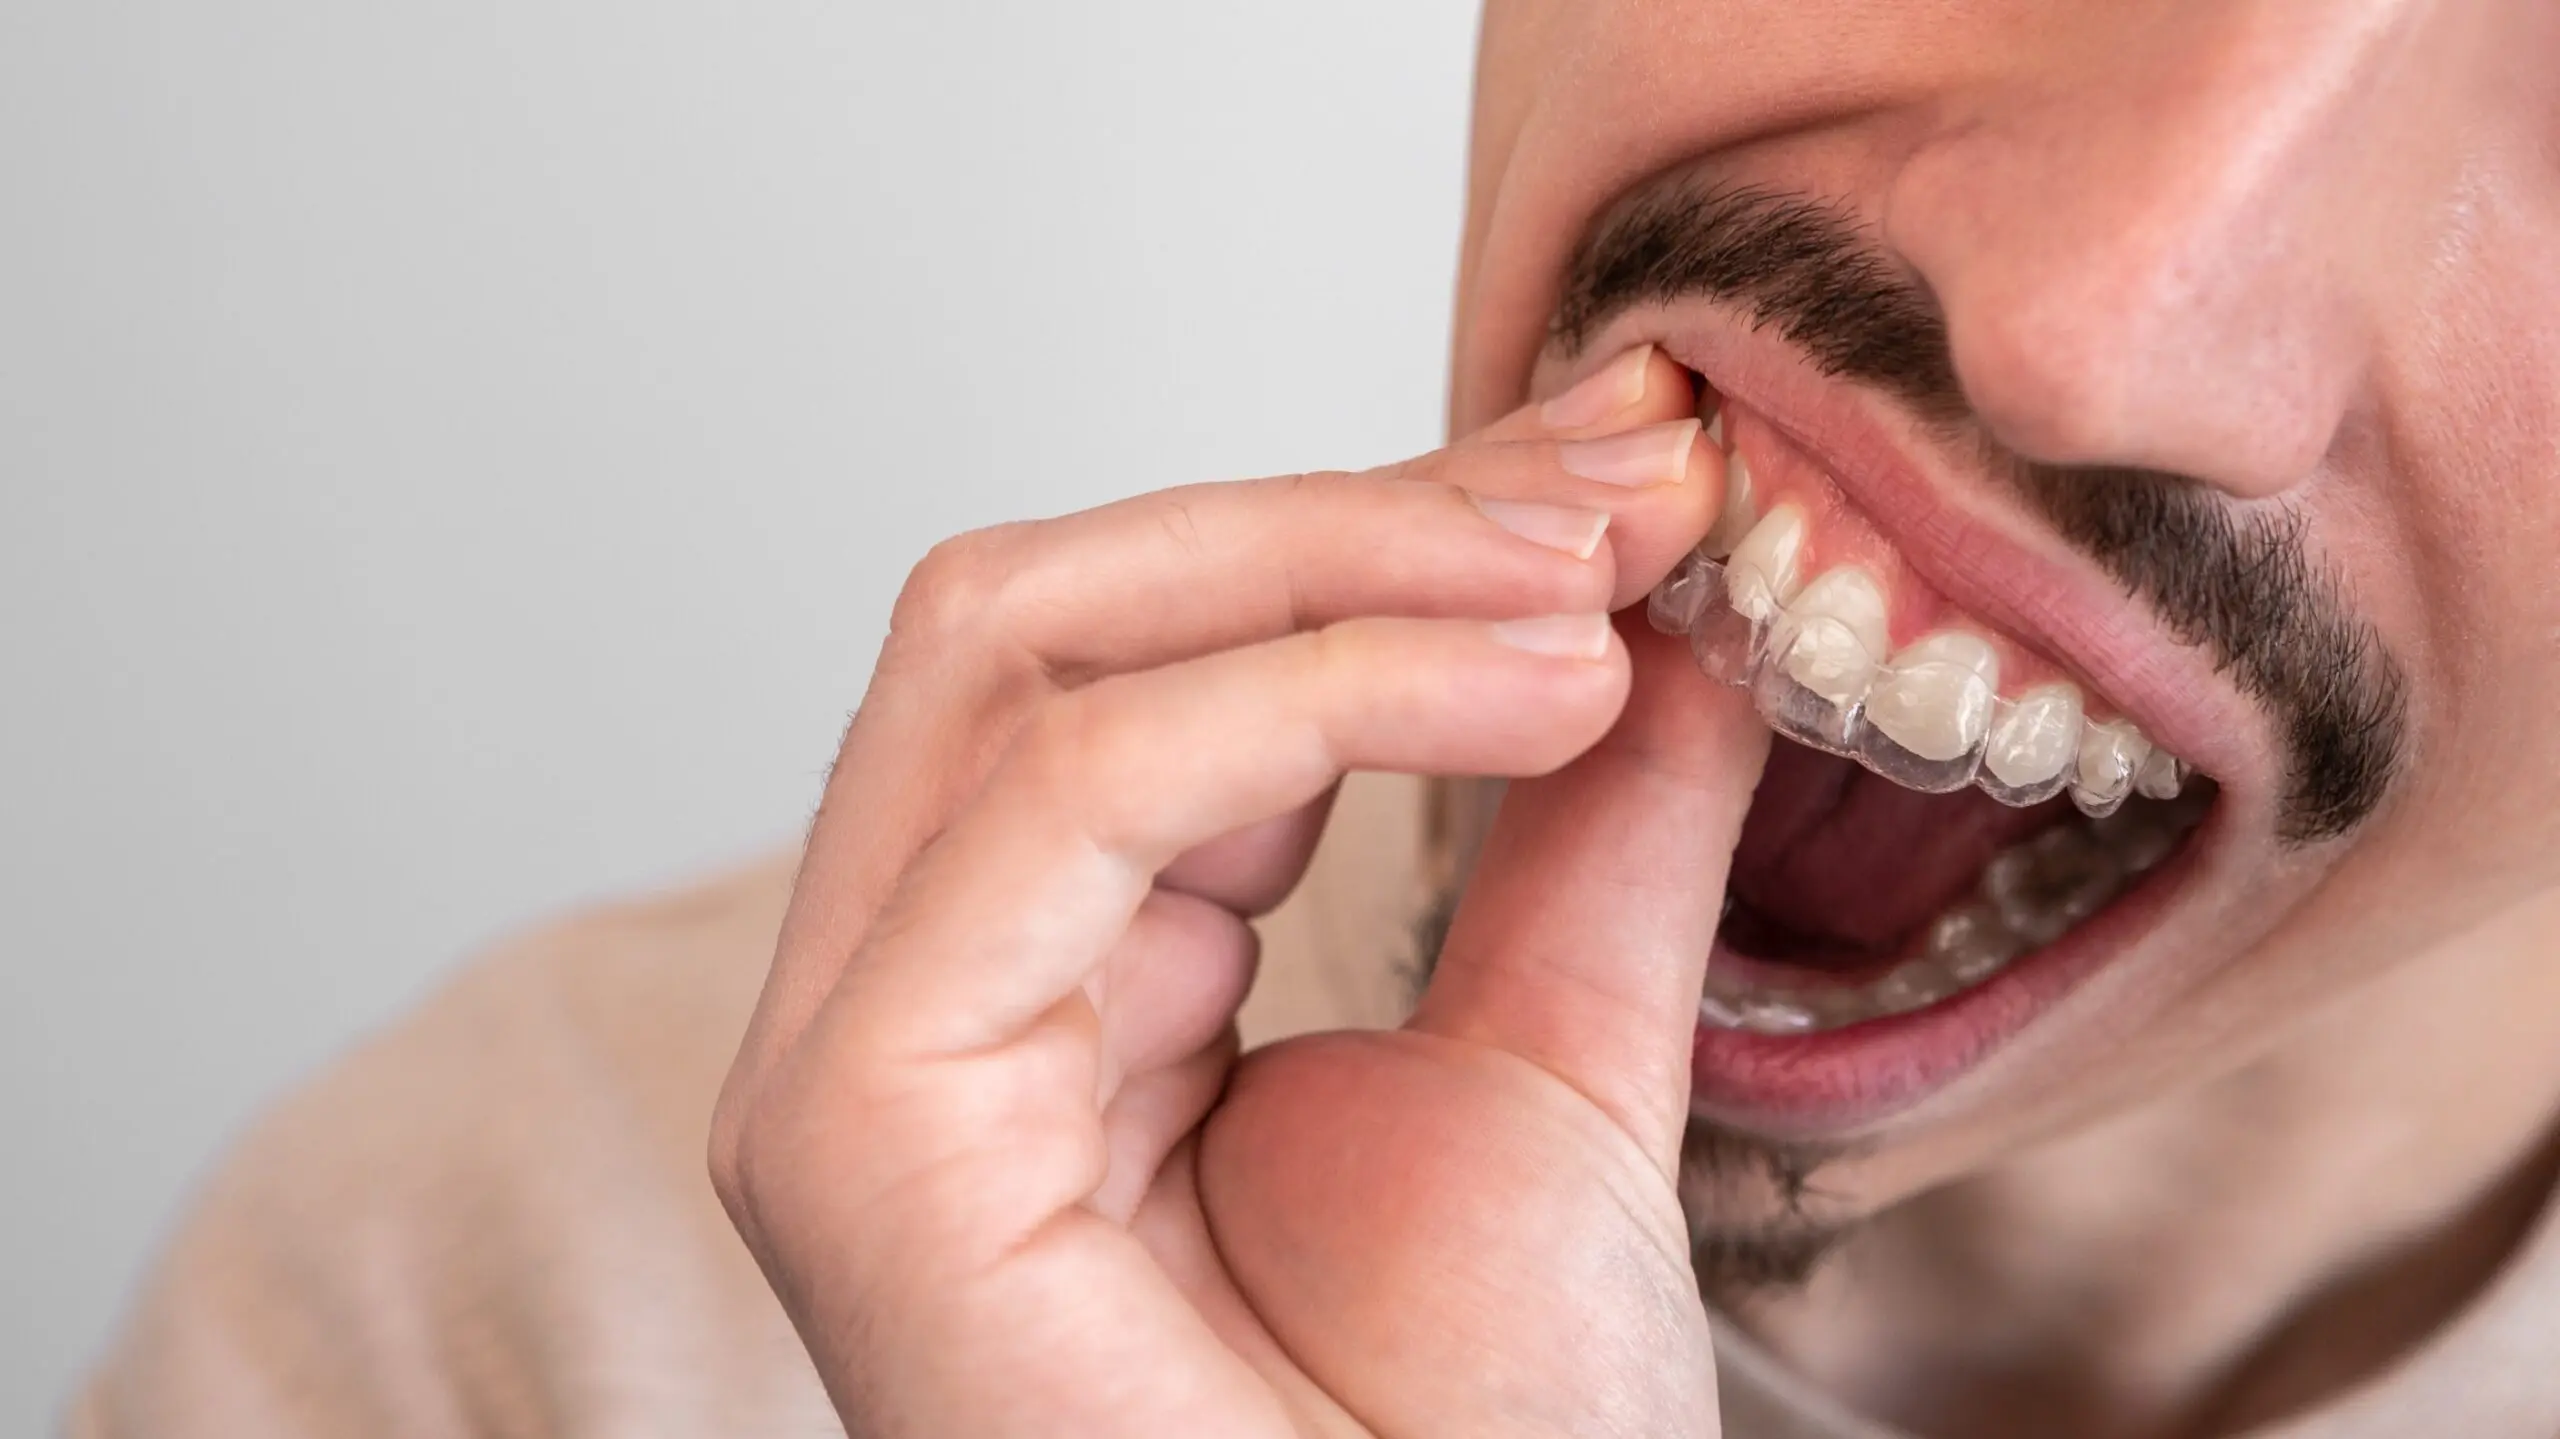
Removing clear aligners can be tough, especially with attachments. Many patients find it difficult at first due to the tight fit. If not careful, aligners can break or damage teeth, and attachments can cause extra discomfort.
To make it easier, wait an extra hour or loosen one side at a time.
Carefully removing aligners is important to avoid damage and delays in orthodontic treatment.
Using improper techniques can harm your gums or enamel, so following helpful tips is essential. For example, open your mouth briefly before removing the aligner.
If the aligners are stuck, wait 10 minutes before trying again to prevent breakage. These steps help ensure effective treatment.
Removable clear aligners with attachments are easy to remove once you get the hang of them.
Here are some helpful tips for safe removal:
This tip is particularly useful during the first few weeks of your orthodontic treatment.
Surgical rubber gloves enhance grip when handling aligners, lowering the risk of cross-contamination.
They should be clean and thin for better control than bare hands, as thick gloves can hinder dexterity. Many patients have observed that gloves improve their grip on orthodontic treatment.
An aligner removal tool is a handy double-sided device often recommended by orthodontists. You attach the aligner on one end and press on the other to remove it easily, especially for stubborn aligners that can cause trouble during orthodontic treatment.
Drinking a warm beverage before removing your aligners can relax your mouth and facilitate removal. Avoid cold drinks, which may harden the aligners, making it a hassle. Keeping your mouth open can also help.
To remove your aligners easily, first dry your mouth. Moisture can make them slippery and hard to grip. Use a clean cloth to blot your lips and lightly dry your mouth, as a dry environment helps remove aligners during orthodontic treatment.

Keeping nails short prevents snagging or breaking clear aligners, making orthodontic treatment smoother. Clean nails are essential to avoid bacteria, ensuring a hassle-free experience with your dental team.
Handle your aligners carefully to avoid damage, as orthodontic treatment requires patience. Move slowly to prevent accidents, and always check their position before taking them out to protect both the aligners and your teeth.
Taking slow, deep breaths can calm your nerves before an extraction and improve the chances of success. Staying relaxed helps you access your clear aligners more easily, and a positive attitude can be helpful during your orthodontic treatment.
Removing clear aligners with attachments can take some getting used to, but with the right technique and a little practice, it becomes second nature. Remember to be gentle, stay consistent with your routine, and avoid using anything that could damage your aligners or your teeth.
If you’re still having trouble or just want a quick demo, the team at Smilebliss is happy to help. We’ll walk you through it step by step and answer any questions you might have about your treatment. Schedule a visit with Smilebliss today and keep your clear aligner journey on the right track—comfortably and confidently.